Hello, fellow yarn lovers! Get ready to embrace the cozy vibes and fall festivities because we’re diving into the wonderful world of crochet pumpkins! Imagine your home adorned with these adorable, plump little pumpkins, each handcrafted with love. Whether you’re a seasoned crocheter or just starting your yarny journey, these sweet decorations are perfectly suited for you. They make absolutely charming gifts for friends and family, or simply a delightful way to add a touch of autumnal charm to your own space. We’ll guide you step-by-step, so you’ll be whipping up a whole patch of these cuties in no time! So grab your hook and your favorite orange yarn, and let’s get crocheting!
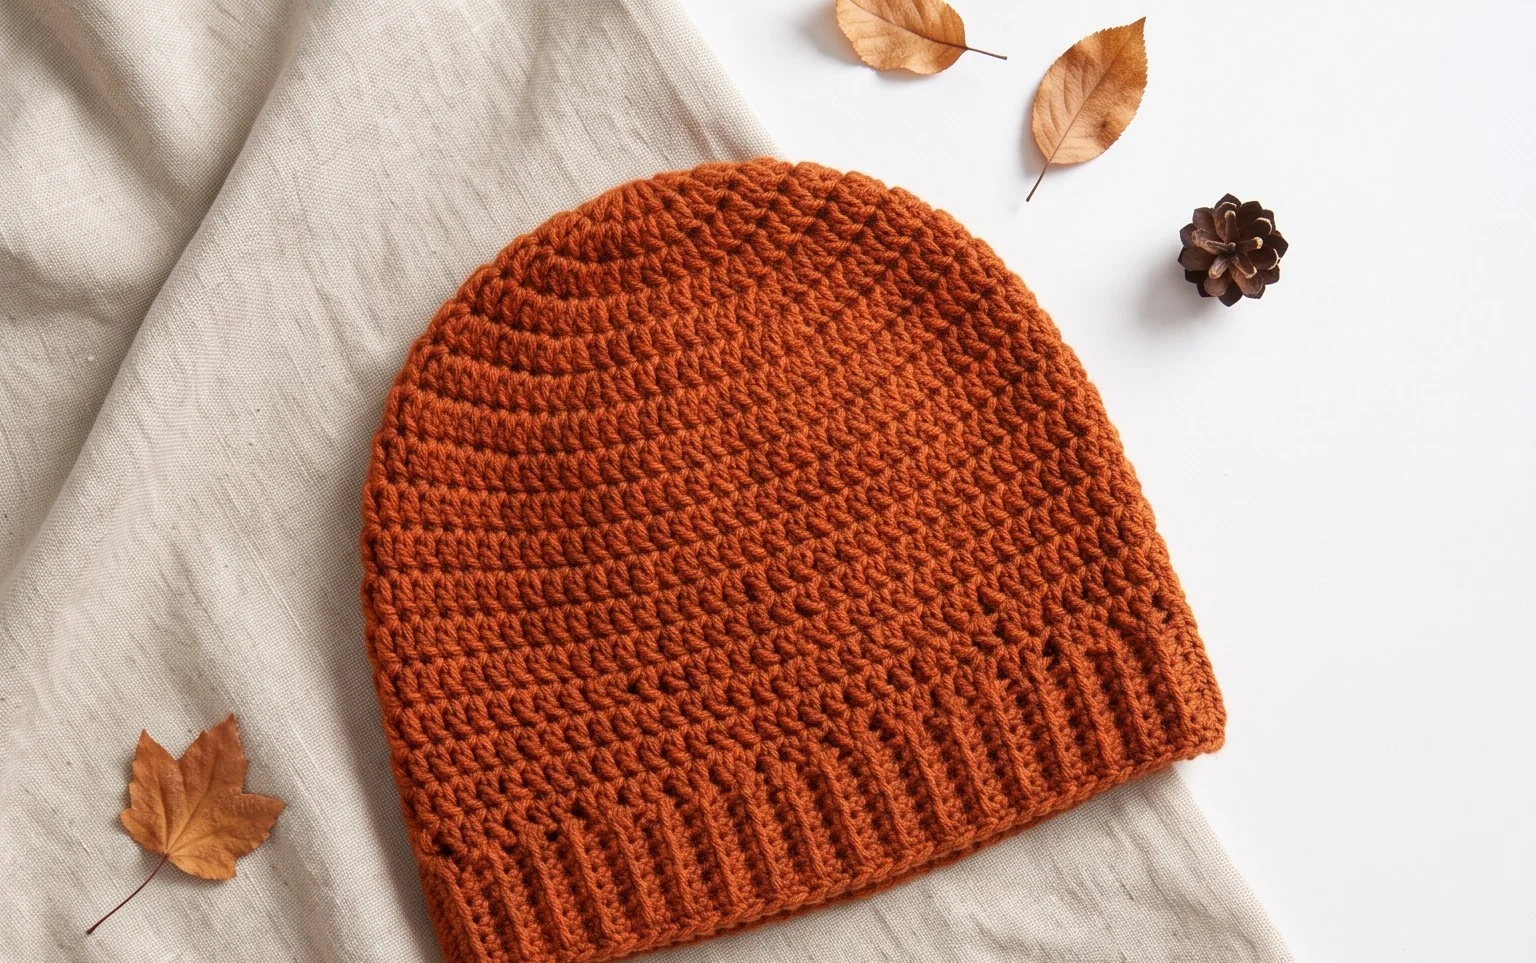
Embrace Autumn’s Charm: Craft Adorable Crochet Pumpkins with Free Patterns!
There’s something undeniably magical about autumn. The crisp air, the vibrant foliage, and the cozy evenings spent crafting – it all calls for a touch of seasonal décor! And what screams autumn more than a plump, cheerful pumpkin? This year, let’s bring that festive spirit into our homes with some delightful crochet pumpkins. Whether you’re a seasoned crocheter or just dipping your toes into the yarn world, these free patterns are perfect for creating charming decorations that will last for seasons to come.
These crochet pumpkins are incredibly versatile and surprisingly simple to make. They’re a fantastic way to use up yarn scraps and can be customized to perfectly match your home’s aesthetic. From small, individual pumpkins for your mantelpiece to larger ones that make a statement on your porch, the possibilities are endless. So, grab your hook and let’s get crafting!
Your Yarn and Hook Arsenal: What You’ll Need
The beauty of crochet is its adaptability, and these pumpkin patterns are no exception. However, to achieve that classic pumpkin texture and shape, a few key choices will make a world of difference.
Yarn Selection: For that wonderfully plump and huggable feel, we recommend using a worsted weight yarn. This is a medium-thickness yarn that works up relatively quickly and provides a good structure for the pumpkin’s shape. Acrylic yarn is a fantastic choice for beginners as it’s durable, easy to care for, and comes in a vast array of colors. Wool or wool blends can also be used for a more rustic feel, but they might require a bit more delicate handling. For a truly authentic pumpkin look, consider shades of orange, yellow, and even a deep rust. But don’t be afraid to experiment with other colors for a whimsical twist!
Hook Size: The general guideline for a worsted weight yarn is to use a crochet hook in the size H/8 (5mm) to J/10 (6mm). The exact size will depend on your personal tension and the specific yarn you choose. A slightly larger hook will result in a looser fabric, which might be desirable for a softer, more slumped pumpkin. Conversely, a slightly smaller hook will create a denser fabric, giving your pumpkin a more rigid and defined shape. It’s always a good idea to check the yarn label for its recommended hook size and perhaps make a small test swatch to see how your chosen combination works up.
Mastering the Magic: Stitch Techniques You’ll Encounter
These pumpkin patterns are designed to be accessible, focusing on a few fundamental crochet stitches. You’ll likely become well-acquainted with these, making them staples in your crochet repertoire.
Single Crochet (sc): This is the workhorse stitch for these pumpkins, creating a dense and sturdy fabric perfect for shaping. It’s the stitch you’ll use most often to build up the body of your pumpkin.
Half Double Crochet (hdc): While not always used, some patterns might incorporate hdc for a slightly different texture or to increase the height of a round more quickly. It creates a stitch that’s taller than a single crochet but shorter than a double crochet.
Magic Ring (or Magic Circle): This is a clever technique used to create a tight, adjustable starting circle, perfect for the top and bottom of your pumpkin, ensuring there are no holes. Don’t be intimidated by it; there are many excellent video tutorials available that break down the steps clearly.
Increase (inc): To create the round, bulbous shape of a pumpkin, you’ll need to strategically add stitches. An increase typically means working two single crochet (or your chosen stitch) stitches into the same stitch from the previous round.
Decrease (dec): Conversely, to shape the top and bottom of the pumpkin and close it up, you’ll need to decrease stitches. A common decrease for single crochet is the “invisible decrease,” which involves working into the front loops only of two stitches.
Slip Stitch (sl st): This stitch is used for joining rounds and creating a neat finish. It’s also often used to create the stem detail.
Sweet Success: Tips for Beginner Crocheters
If you’re new to the wonderful world of crochet, don’t worry! These pumpkin patterns are excellent projects for honing your skills. Here are some tips to help you along the way:
Start with a Lighter Yarn: While worsted weight is recommended, if you’re truly a beginner, consider trying a lighter weight yarn and a slightly larger hook for your very first project. This can make it easier to see your stitches and practice your tension.
Count Your Stitches: It’s easy to lose track, especially in the early rounds. Make it a habit to count your stitches at the end of each round to ensure you’re on track. This will prevent frustrating issues later on.
Use Stitch Markers: These little tools are your best friends! Place a stitch marker at the beginning of each round to easily identify where your round starts and ends. This is especially helpful when working in continuous rounds.
Watch Video Tutorials: For any stitch or technique you’re unsure about, a quick YouTube search can be a lifesaver. Seeing someone demonstrate the technique can make all the difference.
Don’t Be Afraid to Rip Back: Everyone makes mistakes! If you notice an error, don’t be afraid to “frog” (rip back) your work to the point of the mistake. It’s all part of the learning process.
Practice Tension: Consistent tension is key to creating even stitches and a smooth fabric. Try to hold your yarn and hook with a relaxed grip.
Unleash Your Creativity: How to Customize Your Pumpkins
One of the most enjoyable aspects of crafting is making it your own! These pumpkin patterns are a blank canvas for your creativity.
Color Play: While orange is traditional, consider a rainbow of colors! Imagine a set of pastel pumpkins for a whimsical nursery, or deep jewel tones for a more sophisticated look. You can also create stripes or color blocks by changing yarn colors as you crochet. For the stems, consider brown, green, or even a contrasting bright color.
Size Matters: Most free pumpkin patterns will provide a guide for a specific size, but you can easily adjust this. To make a larger pumpkin, simply continue adding increase rounds for a few more rounds before starting the decrease rounds. For a smaller pumpkin, work fewer increase rounds. Remember that the circumference of your starting round will also influence the final size.
Texture and Detail:
Ribbing: To add a ribbed texture, you can try working rounds in the back loop only for a few rows.
Stitching Patterns: Explore different stitch combinations. For instance, alternating single crochet with a chain stitch can create a delicate, lacy effect.
Embellishments: Once your pumpkin is complete, you can add further embellishments like embroidered vines, crochet leaves, buttons, or even small beads for eyes and noses on character pumpkins.
Cherished Keepsakes: Caring for Your Crochet Pumpkins
These handmade treasures are designed to be enjoyed for years to come. With a little care, your crochet pumpkins will remain a delightful part of your autumn décor.
Gentle Washing: For most acrylic pumpkins, a gentle hand wash with cool water and mild soap is sufficient. Avoid harsh detergents or bleach.
Reshaping: After washing, gently squeeze out excess water (don’t wring!). Reshape your pumpkin while it’s still damp to help it retain its form.
Air Drying: Lay your pumpkin flat on a clean towel in a well-ventilated area to air dry. Avoid direct sunlight, which can fade colors over time.
Stuffed Pumpkins: If your pumpkin is stuffed with fiberfill, the washing and drying instructions remain similar. Ensure the stuffing is completely dry before storing to prevent mold.
Beyond Decoration: Project Ideas to Spark Your Imagination
These adorable pumpkins aren’t just for sitting on a shelf! Here are some creative ways to use your finished creations:
Table Centerpieces: Arrange a variety of sizes and colors on a table runner for a stunning autumnal centerpiece.
Gift Toppers: Attach a small crocheted pumpkin to a gift for a unique and personal touch.
Garlands: String together a series of small pumpkins to create a charming festive garland for your mantelpiece or windows.
Amigurumi Friends: Add safety eyes and embroidered features to create cute little pumpkin characters for little ones.
Bowl Fillers: Tuck small pumpkins into decorative bowls around your home.
Harvest Play: Larger, firmer pumpkins can even be used as gentle play props for toddlers.
So, there you have it! A guide to creating your very own charming crochet pumpkins. Gather your supplies, embrace the process, and let the cozy crafting begin. Happy crocheting, and may your autumn be filled with warmth, creativity, and plenty of delightful little pumpkins!
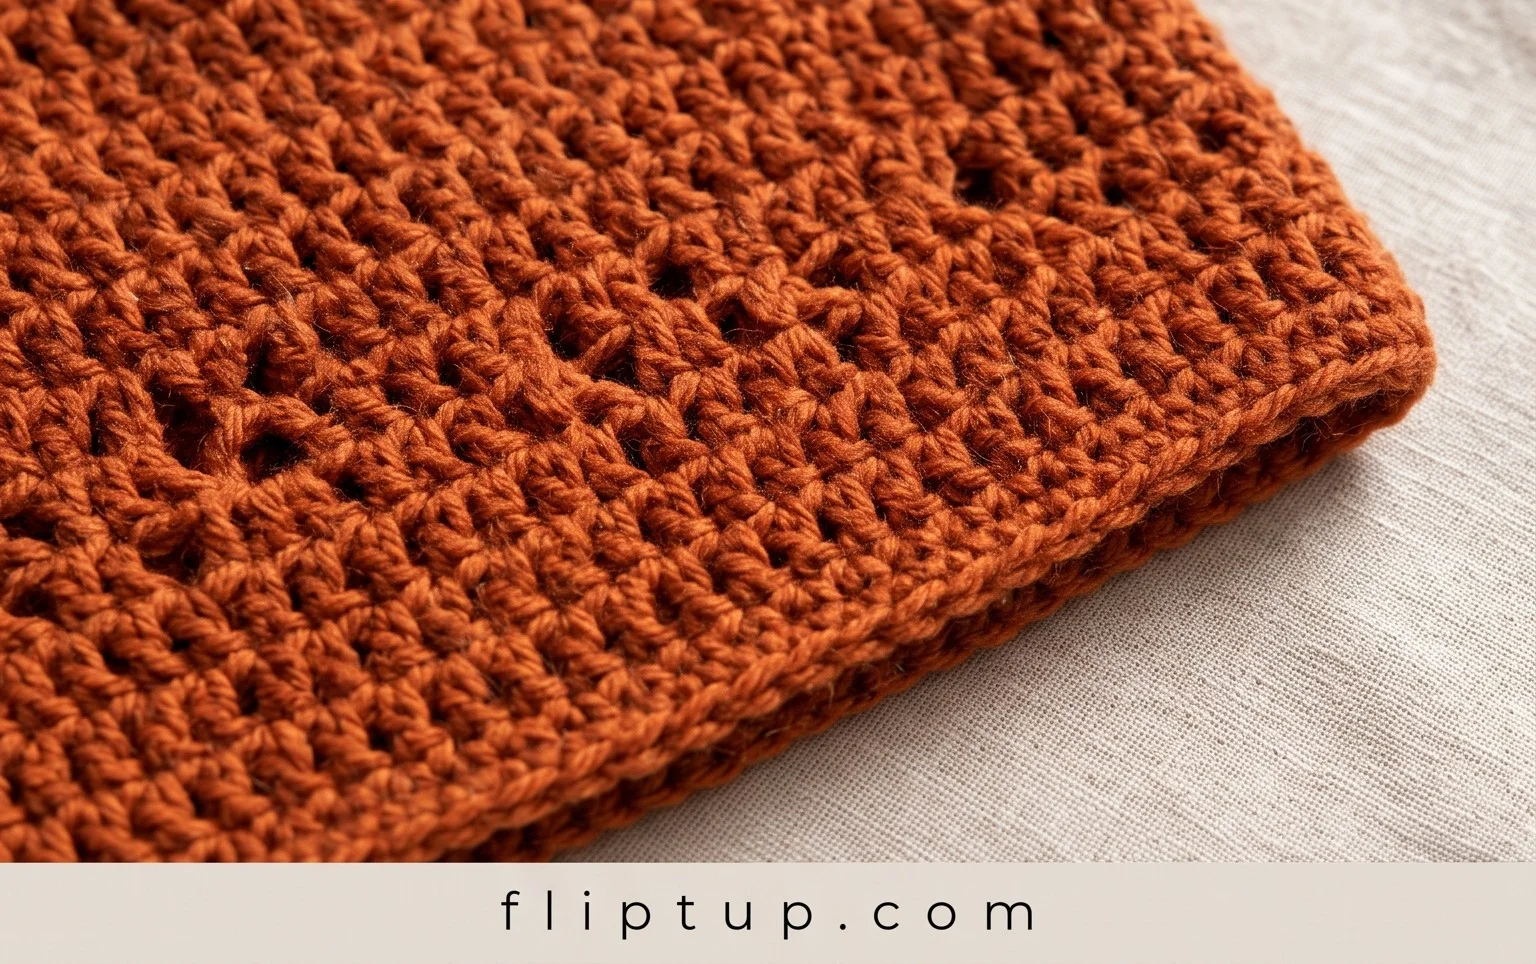
I hope you’re feeling inspired to grab your crochet hook and yarn after seeing these adorable pumpkin decorations! These patterns are perfect for adding a touch of handmade charm to your home this season. Don’t be shy – give them a try! I promise you’ll have so much fun bringing these cozy creations to life.
Once your pumpkins are all stitched up, I’d absolutely love to see them! Share your finished projects on social media and tag me so I can admire your beautiful work. Feel free to experiment with different yarn colors and embellishments to make your pumpkins uniquely yours. And if you’re already dreaming of your next crochet adventure, be sure to explore more delightful patterns here on the blog!